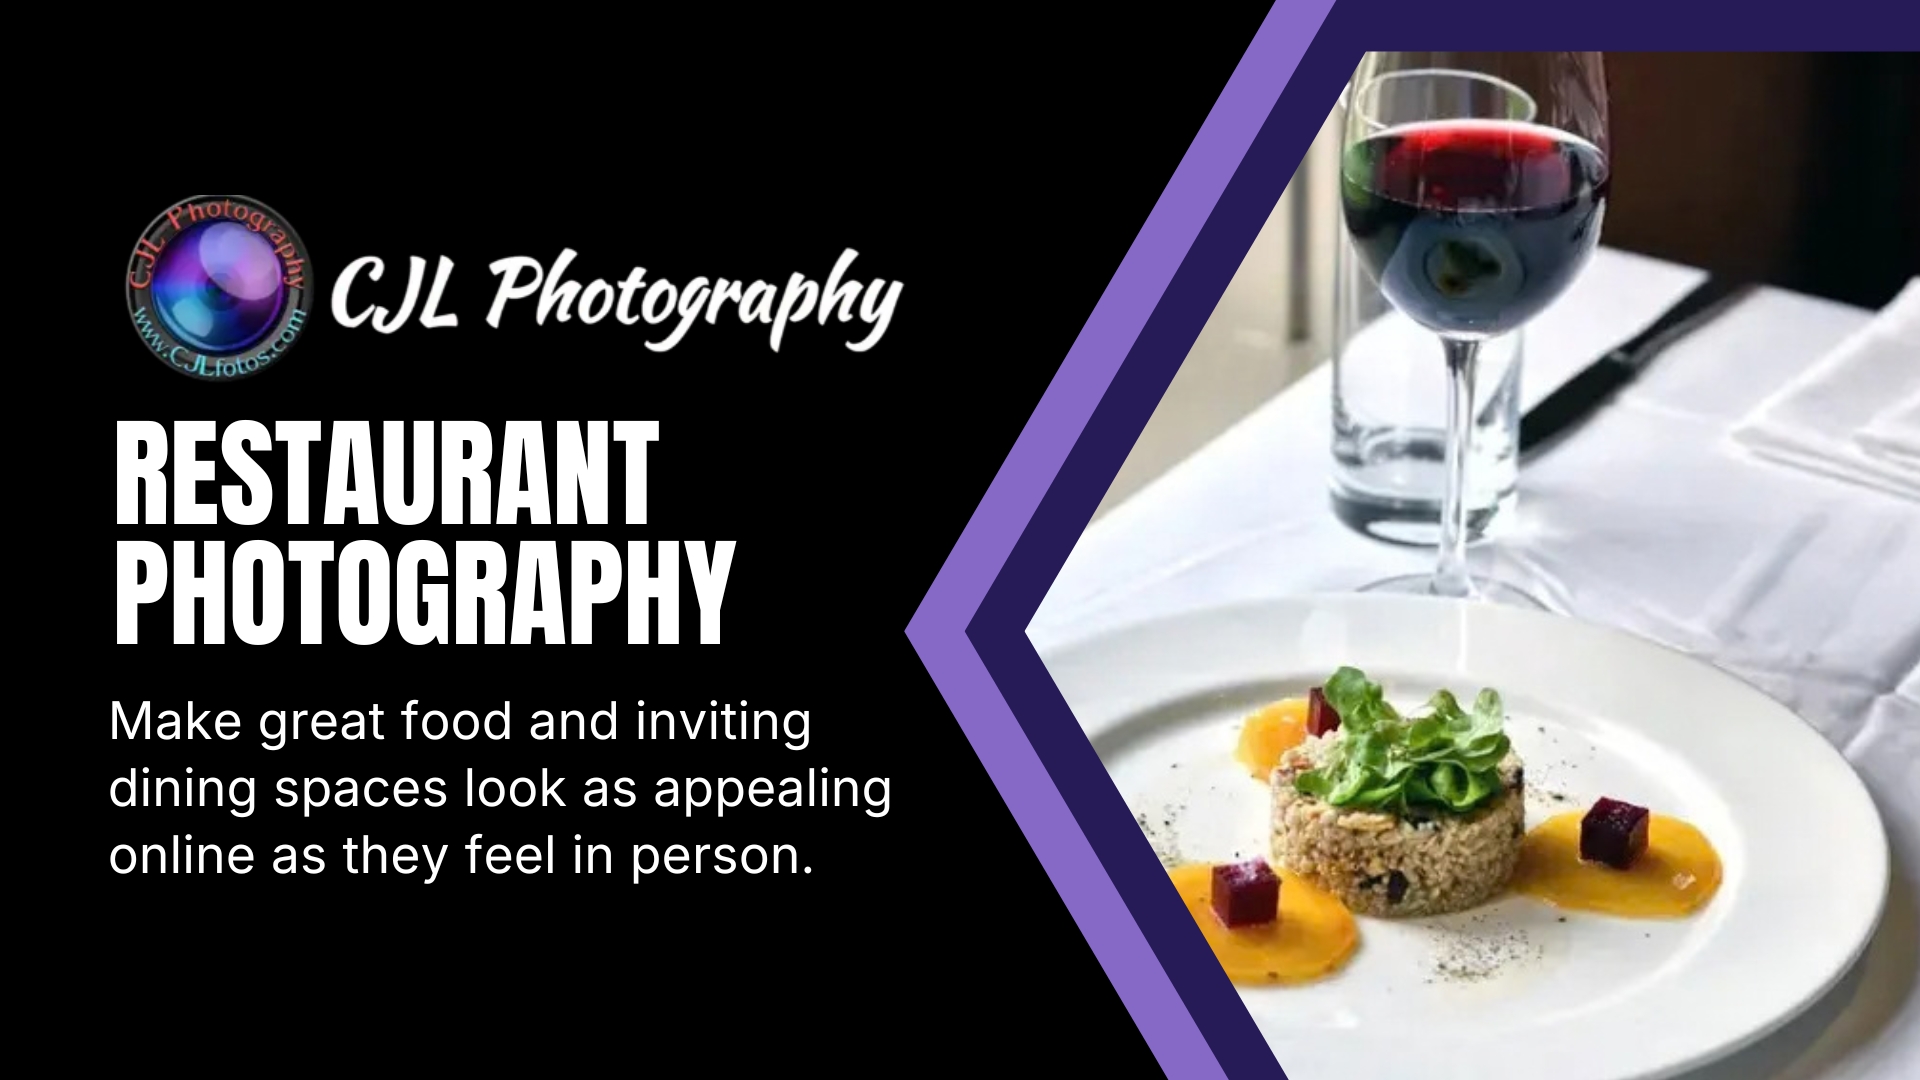
Most Boston diners meet your restaurant on a phone screen before they ever walk through the door. They see your Google listing, a delivery app menu, or an Instagram post, and they decide in a few seconds whether the place looks worth a visit. A blurry, dim, or mismatched photo can lose that decision before anyone reads your menu.
Choosing the right food photographer comes down to four things: a portfolio that shows food in real restaurants, clear usage rights, a short list tied to where the photos will be used, and pricing you can compare. This guide walks through each one, plus what a photographer actually does, what a shoot costs, how to prep, and when to book.
Quick Takeaways
- Look for a portfolio of food shot in working restaurants, not just studio ads.
- Decide where the photos will live (menu, website, delivery apps, Google, social) before you request quotes.
- Get usage rights in writing. Pricing often depends on how the images will be used.
- Photos have to match what your kitchen serves, and delivery apps enforce that.
- Prep matters as much as the camera. A cleaned-up dining room and a planned shot list save time and money.
Why Boston Restaurants Need Professional Food Photography
Boston is a crowded dining market. Within a few blocks of almost any address, a hungry person has dozens of options, and most of them compare those options visually first. Your photos are often the first thing a stranger sees about you.
Professional images do three jobs that phone snapshots struggle with:
- They show the food accurately. Good lighting and color control make a dish look like it tastes, not like it was shot under a flickering bulb.
- They stay consistent. One set of photos with a shared style makes your website, menu, and socials look like one restaurant instead of five.
- They work in more places. A properly shot image can be cropped for a delivery app, a website banner, a printed menu, and a social post without falling apart.
Photos won’t fix a menu people don’t want. What they do is remove the “this looks sketchy” barrier that keeps people from giving you a try.
What Does a Restaurant Food Photographer Do?
A restaurant photographer does much more than press a shutter. A typical project runs through these steps:
- Planning. You talk through goals, brand style, and where the photos will be used. A short list comes out of that conversation.
- Setup. The photographer scouts your space, picks the best spots and times for light, and sets up lighting and a shooting surface, often right at your tables or bar.
- Shooting. Dishes come out one at a time, and the photographer adjusts angle, framing, and light for each. Many work tethered to a laptop so you can approve shots as they happen.
- Styling support. Small adjustments (a garnish, a sauce edge, a napkin) can make or break a plate. Some photographers style food themselves; others expect your kitchen to plate it. Styling can also be billed separately.
- Editing. Color correction, cleanup, and cropping happen after the shoot.
- Delivery. You receive final files sized and named for the places they’ll be used.
That last step is easy to overlook. A photographer who understands restaurants will deliver files that work on delivery apps and websites, not just a folder of large originals.
Types of Food Photography Boston Restaurants May Need
You probably won’t need every kind of shot, and you shouldn’t pay for ones you won’t use. Here’s a quick way to match the shot to the job:
| Type of Photography | Best For | Main Benefit | Important Consideration |
| Menu and dish photography | Printed and online menus, delivery apps | Shows each item clearly and accurately | Must match what the kitchen actually serves |
| Website and social content | Hero banners, feeds, ads | Gives you variety (dishes, drinks, details) | Needs both horizontal and vertical crops |
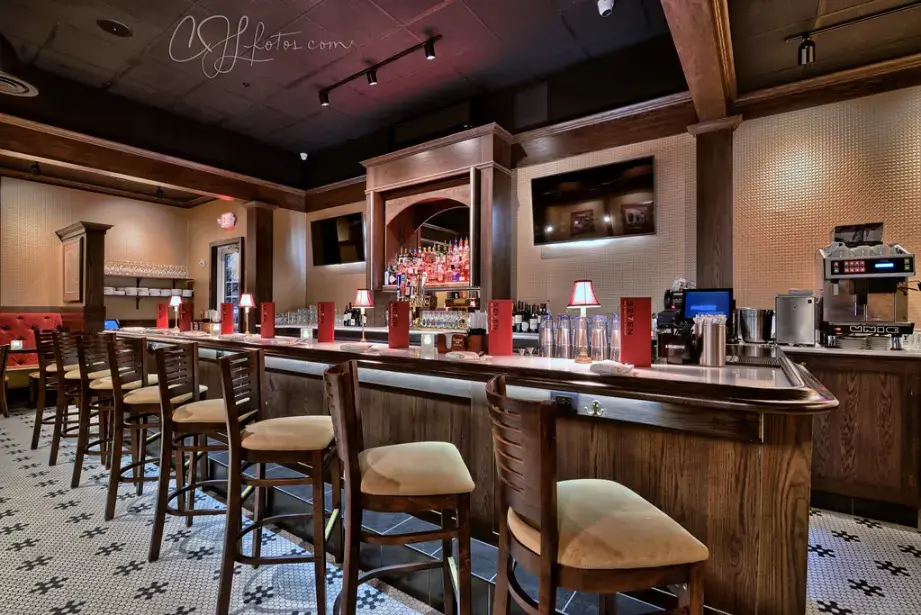
| Interior and atmosphere | Google listing, website, press | Shows the vibe and seating | Needs a clean, staged room |
| Chef and kitchen action | About page, press, social | Adds personality and craft | Requires staff comfort and coordination |
| 360° virtual tours | Google Maps and your website | Lets people look around before visiting | Different workflow from regular stills |
Menu photography for Boston restaurants
Menu photos are the workhorse. The goal is clarity: a diner should see exactly what they’re ordering. That usually means choosing hero dishes first (best sellers, signature plates, or high-margin items) instead of photographing every line on the menu.
A few habits separate good menu photography from mediocre:
- Consistent style across all dishes, so the menu doesn’t look like a patchwork.
- Same plating the kitchen uses, not an idealized version it can’t repeat.
- Room around the dish, so images can be cropped for different layouts later.
Restaurant website and social media food photography
Your website and social feeds need variety more than perfection. Think of a mix: signature dishes, drinks, close-up details, the room, and the people behind the food. A photographer who plans for this can give you enough material to post consistently for weeks.
Ask for horizontal and vertical versions of key images. Websites and banners favor wide frames, while social stories and reels favor tall ones. Also ask for web-optimized files, since oversized images slow down your site.
Professional photos for delivery apps and online menus
Delivery platforms have rules, and they enforce them. DoorDash, for example, asks for landscape 16:9 item photos at a minimum of 1400 x 800 pixels, rejects images with people’s faces, and requires that the photo show exactly what comes with the item. It also asks for each menu item to have its own photo. Other platforms use different ratios, and specs change, so confirm current requirements in each merchant portal before the shoot.
The practical takeaway: tell your photographer which platforms you’re using before the shoot. A good one will shoot “crop-safe,” with extra space around each dish, so a single frame can be cropped to several formats without cutting off the food.
Restaurant interior and atmosphere photography
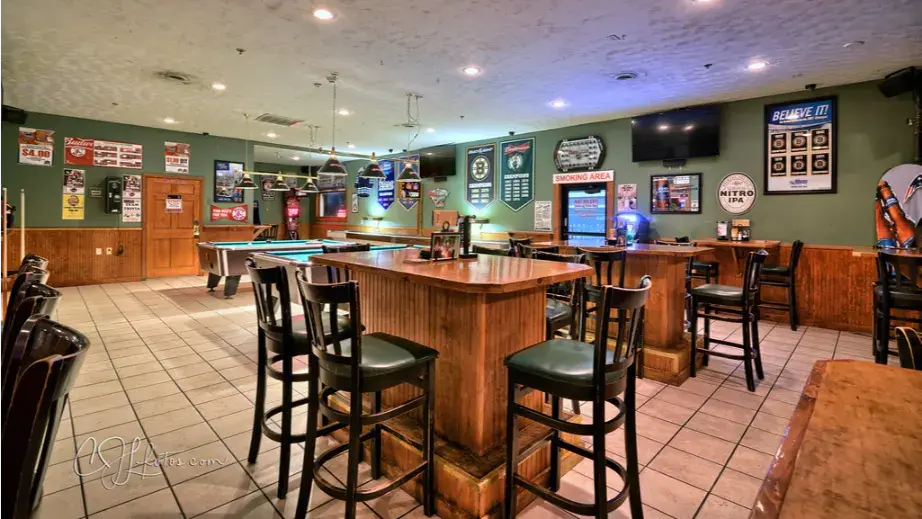
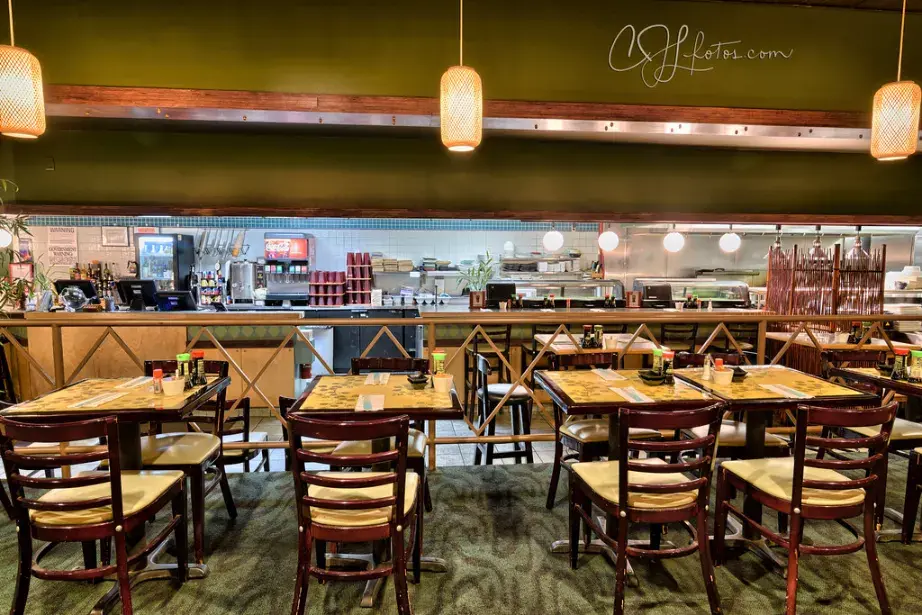
Diners use interior photos to answer questions that food photos can’t: Is this a date-night place or a quick lunch? Can we fit a group? Is there a patio?
Strong interior work usually includes wide shots of the dining room, the bar, outdoor seating, and a few detail shots that carry the personality (a light fixture, a window seat, a texture on the wall). For 360° coverage, a virtual tour embedded in Google Maps lets people look around before they visit, and it fits into Google’s own photo categories for restaurants. This is a different workflow from regular stills, so ask whether your photographer offers it and how it’s priced.
Interiors need prep: tables set, lights on, clutter cleared. More on that below.
Action shots: chefs preparing food in the kitchen
Kitchen action shots show craft and personality: hands plating a dish, a pan flame, a pour. They work well on About pages, press kits, and social posts.
They also take more coordination than a plated dish. The photographer needs to stay out of the way of the line, follow your kitchen’s food-safety rules, and work around service. Shoot during prep time, not rush hour, and make sure the staff being photographed are comfortable with it.
How Lighting Affects Restaurant Food Photography
Lighting changes how food looks more than any other single factor. A few basics help you talk to a photographer:
- Natural window light is soft and flattering, which is why many restaurant shoots use it when the layout allows. It changes throughout the day, so timing matters.
- Artificial light (strobes or continuous lights) gives control when the room is dark or the weather is gray. It’s essential for dim, moody dining rooms.
- Mixed lighting is the common problem. Warm bulbs, daylight from windows, and LED fixtures all have different color temperatures, and mixing them can give food a yellow or green cast. A photographer will balance or replace sources to keep colors true.
- Style choices matter. Bright and clean suits casual and café concepts. Darker, moodier lighting can suit steakhouses and cocktail bars. Neither is better; pick what matches your brand.
A useful question to ask: “How will you handle the lighting in my room?” A confident answer will mention both your windows and your fixtures.
How Much Does Restaurant Food Photography Cost in Boston?
Short answer: it varies widely, and I couldn’t verify a published Boston price list, so treat any figure as a starting point. National benchmarks put food and beverage photography at roughly $400 to $1,500 per half-day, with commercial day rates around $500 to $2,000 or more, and usage licensing often priced separately. Larger full-menu projects can run into the thousands.
Big-city markets often sit toward the higher end of those ranges, but the only reliable way to know is to request quotes.
What drives the price:
| Factor | Why It Matters |
| Length of shoot | More hours and more setups cost more |
| Number of dishes and final images | Each plated dish takes time to set up and shoot |
| Food styling | Often billed separately |
| Locations and shot types | Interiors, action shots, and 360° tours each add scope |
| Usage rights | Photos for national ads cost more than photos for your own menu |
| Editing and retouching | Heavier retouching is usually extra |
| Travel and logistics | Distance, parking, and equipment loading in dense areas |
| Rush delivery | Tight turnarounds can add a fee |
On usage: one industry pricing guide describes licensing fees as commonly adding a percentage to the base rate, or a flat fee per image. Ask what’s included for your own marketing (menu, website, social, delivery apps, Google), how long the license lasts, and whether anything is exclusive.
When you compare quotes, don’t compare day rates alone. Compare the cost per usable final image and what’s included. A cheap quote with few images and narrow rights can cost more per photo than a pricier one.
What Should Be Included in a Restaurant Photography Package?
Packages vary, so read what’s listed instead of assuming. A solid package spells out:
- Shoot time and location(s)
- Number of dishes and final edited images
- Shot types (dishes, drinks, interior, people, details)
- File formats and sizes (web, print, delivery apps)
- Editing level
- Usage rights (where, how long, any limits)
- Delivery timeline
- Revision policy and what happens if you need to reschedule
- Extras such as styling, 360° tours, or additional crops
Here’s how package levels often differ in structure. These are illustrative, not quotes:
| Level | Typically Covers | Best For |
| Starter | A short session focused on a handful of hero dishes | Small cafés, menu refreshes |
| Standard | Dishes plus interior and a few detail shots | Most full restaurants |
| Full | Dishes, interior, people, action shots, and extras like 360° tours | New openings, rebrands, multi-use libraries |
If a quote is vague (“a set of photos”), ask for specifics before you sign.
How to Choose the Right Food Photographer in Boston
By now you know what you need. Here’s how to evaluate the people who can deliver it.
- Study the portfolio for restaurant work. Look for food in real dining rooms, with natural plating. If everything is studio-lit on seamless backdrops, ask how they’ll handle your space.
- Match their style to your brand. Bright and clean, dark and moody, overhead or angled: look at whether their look fits what you want to project.
- Ask how they work in a live kitchen. Restaurants run on tight schedules. They should be comfortable working around prep and service.
- Check delivery-app and Google experience. Do they know the specs and shoot crop-safe?
- Clarify usage rights in writing. This is the most common source of surprises later.
- Ask for references. A past restaurant client you can contact says more than a testimonial.
- Compare quotes like for like. Same shot list, same deliverables, same rights.
- Confirm the logistics. Scheduling flexibility, reschedule policy, and delivery date should all be written down.
On location: a Boston-based photographer isn’t automatically better, and one who travels in isn’t automatically worse. What matters is whether they handle the practicalities of shooting in the city: loading gear in tight streets, parking, and building access, particularly in dense neighborhoods. Ask about travel fees up front, since they can affect the total.
Red flags to watch for:
- A portfolio that’s mostly weddings or portraits with little food
- Reluctance to discuss usage rights
- No written estimate
- Heavily composited or filtered images that don’t resemble real dishes (a problem if a platform requires accurate photos)
- Pricing that’s far below every other quote
If you’d like to see how this works in practice, CJL Photography has more than 25 years of professional experience, photographs restaurants across Boston and the Northeast, and also creates 360° virtual tours embedded in Google Maps. Reach out through the contact page for a quote and a conversation about your shot list.
How to Prepare Your Restaurant Before a Photography Session
Good prep shortens the shoot and improves the results. Here’s a practical sequence:
A week or more before
- Finalize your menu and prices. Photographing a dish you’re about to change wastes money.
- Pick hero dishes. Choose items that sell well, look distinctive, and represent your range.
- Build a shot list with your photographer, tied to where each image will be used.
- Decide who attends. Include the chef or manager who can approve plating on the spot.
The day before
- Clean the space. Windows, glassware, tabletops, floors, and bar surfaces should be spotless.
- Replace burned-out bulbs and keep bulb types consistent.
- Clear clutter: stacks of menus, condiment caddies, posters, and cords.
- Check ingredients. Buy fresh produce and proteins, with a few extra pieces for the best-looking results.
- Gather props and tableware. Matte plates usually photograph better than very glossy ones.
On the day
- Plan the order of dishes. Cold and delicate items often go first; hot and melting ones go in when the setup is ready.
- Keep the kitchen ready to cook to order, since food looks best fresh.
- Arrange parking and loading so the photographer isn’t circling the block.
- Brief your staff on what’s happening and where they should and shouldn’t be.
When Is the Best Time to Schedule a Restaurant Photoshoot?
Think about two things: time of day and time of year.
Time of day. Many restaurants shoot between lunch and dinner, or on a closed day, so there’s no service pressure and no guests in frame. If you want natural light for interiors, mid-morning to early afternoon often works, depending on which way your windows face.
Time of year. Match the shoot to your goals:
| Goal | Good Timing | Why |
| Seasonal or new menu | Right after the menu is final | Photos match what you serve |
| Patio and outdoor seating | Spring through early fall | Shows the space at its best |
| Before a busy stretch | A few weeks ahead | Gives time to edit and publish |
| Special promotions | Before the program starts | Dine Out Boston runs twice a year (August 1 to 15 in 2026), so check Meet Boston for the next dates |
| Winter shoots | Earlier in the day | New England daylight is short, so plan for artificial light |
Photographers’ calendars fill up, particularly before busy seasons, so book earlier than you think you need to. And if you renovate, change your plating, or hire a new chef, that’s a cue to reshoot.
How Professional Food Photos Can Help Attract More Boston Customers
Photos earn their keep in the places customers already look:
- Google Search and Maps. Diners browse photos on your Business Profile before choosing where to eat.
- Delivery apps. Items with clear photos stand out in a long scroll. DoorDash has reportedly found that reaching 50% menu photo coverage lifts sales by around 13% on average, though I’d treat that as a platform-reported figure.
- Your website. A strong hero image and menu photos help visitors decide faster.
- Social media. A steady supply of consistent images keeps your feed active.
- Press and event listings. Editors and event organizers need good images to feature you.
Don’t promise yourself a specific lift. Instead, measure it. Before the shoot, note your current delivery-app item views and orders, Google Business Profile photo views, website menu clicks, and reservation or phone-call volume. A few weeks after the new photos go live, compare. That tells you which images are working and where to spend your next photo budget.
FAQ’s
How many dishes can I photograph in one session?
It depends on how complex the plating is and how many setups you need. Ask your photographer for a realistic pace, start with hero dishes, and avoid cramming your whole menu into a short session.
Who owns the photos?
Generally, the photographer owns the copyright unless an agreement says otherwise, and you receive a license to use the images. Make sure the license covers every place you plan to use them. This isn’t legal advice, so have a lawyer review contracts if the stakes are high.
Can I just use phone photos?
For quick daily stories and behind-the-scenes posts, yes. For your menu, website hero, delivery apps, and Google listing, professional photos hold up better and are more consistent.
How often should I update my photos?
Whenever the menu, plating, or space changes in a visible way. Photos should always match what the kitchen serves, and a seasonal menu or a renovation is a good cue.
Do I need releases for people in the photos?
If identifiable staff or guests appear in marketing images, get signed releases. Note that delivery apps like DoorDash don’t allow faces in menu item photos.
How long until I get the finished photos?
Turnaround varies with the amount of editing. Ask for a delivery date in writing before the shoot, and ask whether rush options exist.